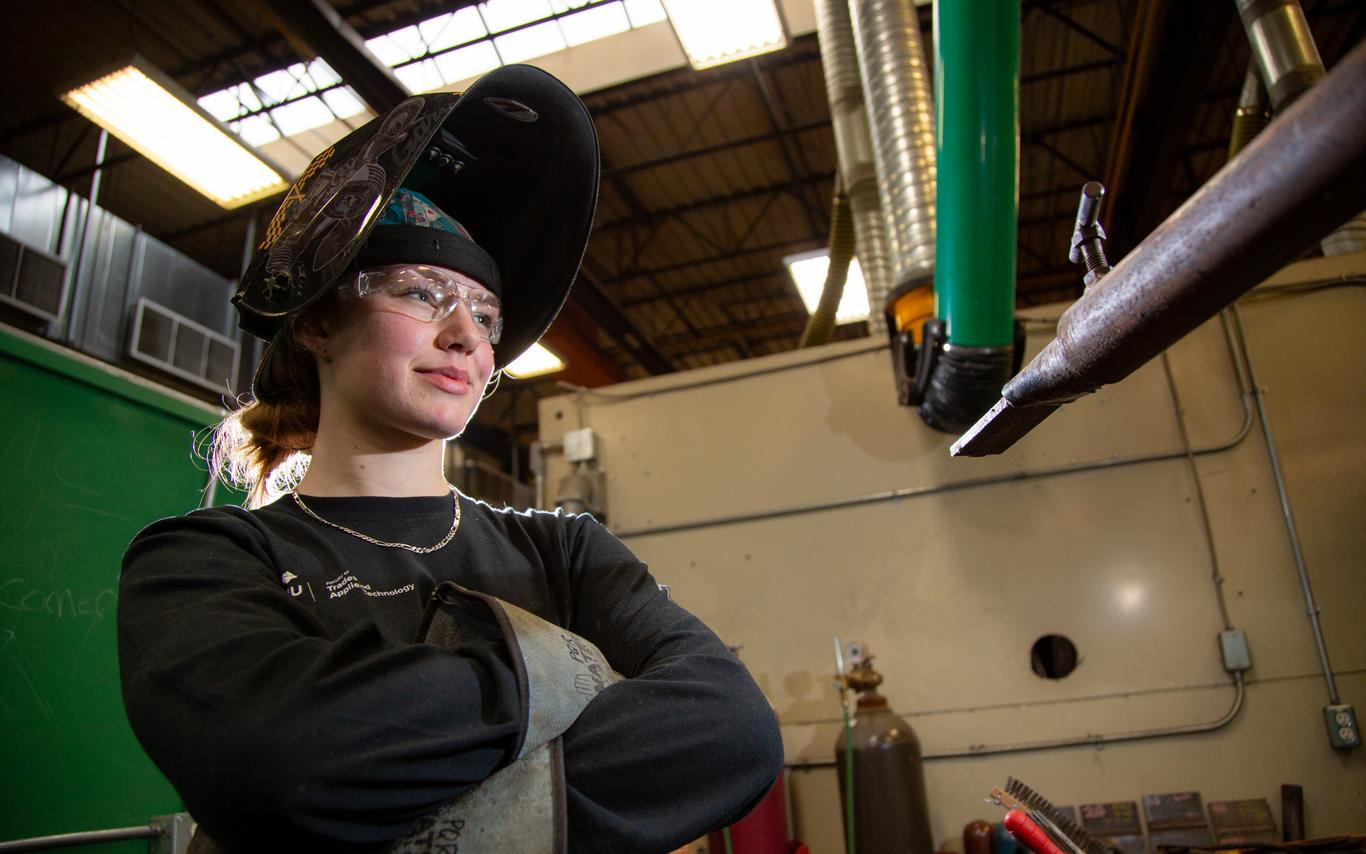
At our welder testing facility you will find:
- Booths set up with individual fume extractors and welding stands.
- New inverter type welding machines that can be set up with a variety of consumables for a range of procedures SMAW, FCAW, GMAW, dual shield or flux core.
- Machining equipment for preparation and testing of welding coupons.
- Experienced staff supervisors available to assist.
Please have the following information ready when booking:
- First name, middle name, last name
- Mailing address (where the test report will be sent)
- Contact phone number
- Who is paying? Welder or Company
- Which process is welder testing for: SMAW (stick) – FCAW (flux/wire) – GMAW (mig)
Positions CWB welder testing for:
- Full test—doing all 4 positions
- Check test—position depends on original ticket positions
- Re-test—specify position
- Flat
- Horizontal
Prerequisites
Be prepared to present welding certification cards to CWB inspector.
Personal protection equipment required (P.P.E.) e.g.
- CSA approved steel toe work boots
- personal eye protection
- wear 100% cotton or wool or fire retardant material
- welding jacket or sleeves
- welding gloves
CWB Plate Test
- 45 minutes per plate – 5/16 maximum leg length
- 1/8” maximum build up – 1/32” maximum undercut
- Use run off tabs – wire wheel on grinder allowed
- No defacing of stamped area – stops and starts must be observed
- Electrode sizes 3/32”, 1/8”, 5/32” usage – no using any grinders or files for metal removal
Guidelines for passing CWB Welder Test
- No chipping hammer marks or stray arcs on plate.
- Fill in the craters at the end of the grove weld.
- Do not build weld up more than 3mm (1/8”) above the surface of the plate.
- No grinder, saw blades, files or tools for metal removal are allowed.
- Ensure that you do not weave up against the square cut plate, always point to the square cut plate when welding to it.
- You are required to make stop/starts as directed by the CWB representative. Ensue that stop/starts are welded correctly.
Stop/start technique
Using SMAW, restart the arc ahead of the crater, move back to the crater, fill it and continue to weld.
- Using FCAW, restart in the centre of the weld crater.
- The second pass must touch the beveled plate.
- Technique for the fill passes is up to the welder, but it is generally considered easier with less chance of leaving a defect in the weld if stringer passes are used. The vertical position may be an exception.
- The legs of the fillet weld must not vary in size by more than 1.5mm (1/16”).
- Fillets size weld is 8mm (5/16”) maximum (this means that you can put on a 5mm (3/16”), 6mm (1/4”) or 8mm (5/16”) fillet weld).
- If attempting three passes in the root area, make sure enough room is left to fuse the third pass to the backup strip.
